

Tape-in extensions: seamless length and volume made easy
Many people assume hair extensions are either obvious or damaging. That belief stops countless people from ever trying them. Tape-in extensions challenge that assumption entirely. They sit flat against the scalp, blend with your natural hair, and feel so light you sometimes forget they’re there. Whether you’re a first-timer nervous about commitment, a beauty enthusiast chasing volume, or a stylist looking for a reliable method for fine-haired clients, this guide covers everything: what tape-ins are, how they compare to other methods, how to choose quality hair, and how to care for them properly.
Table of Contents
- What are tape-in extensions?
- How do tape-in extensions compare to other methods?
- Choosing quality: Hair types, cost, and what to expect
- Application, aftercare, and removal: What you need to know
- Styling and versatility: Achieving your best look
- The hidden truth: Why tape-ins are changing the hair game
- Explore premium hair extension options
- Frequently asked questions
Key Takeaways
| Point | Details |
|---|---|
| Gentle and natural look | Tape-in extensions provide seamless, lightweight volume with minimal risk of damage when applied professionally. |
| Versatile styling options | You can achieve up-dos, braids, and waves thanks to the flexibility of tape-in extensions. |
| Professional-grade quality matters | Choosing Remy human hair and having extensions installed by a stylist ensures the best results and reusability. |
| Easy maintenance | With the right aftercare, tape-in extensions last 6–8 weeks and can be reused multiple times. |
What are tape-in extensions?
Tape-in extensions are pre-made wefts of hair attached to thin strips of medical-grade adhesive tape. During installation, a stylist takes a thin section of your natural hair and sandwiches it between two tape wefts, one above and one below. The result is a flat, secure bond that sits close to the scalp and moves naturally with your hair.
What makes them stand out among the many hair extensions types is their ability to blend almost invisibly, especially for people with fine or thin hair. Because the tape lies flat, there are no bulky clips or beads creating lumps under your hair.
Here’s what makes tape-ins a popular choice:
- Lightweight feel: The thin wefts add minimal weight compared to beaded or sewn-in methods.
- Quick application: A full head can be installed in under two hours.
- Reusable: With proper care, the hair itself can be re-taped and reinstalled multiple times.
- Beginner-friendly: Lower risk of damage makes them ideal for first-time extension wearers.
Quick application, lightweight comfort, and minimal damage make tape-ins one of the most client-friendly methods available today.
“Tape-in extensions are feather-light and gentle on the scalp. For clients who’ve never worn extensions before, they’re the most approachable starting point we recommend.” — Professional hairstylist
Pro Tip: If you’re new to extensions and worried about damage, tape-ins are the lowest-risk method to start with. Ask your stylist for a consultation before committing to a full set.
How do tape-in extensions compare to other methods?
Choosing the right extension method depends on your hair type, lifestyle, and how much maintenance you’re willing to commit to. Here’s how tape-ins stack up against three other popular options:
| Method | Application time | Comfort | Maintenance | Natural look |
|---|---|---|---|---|
| Tape-ins | 1 to 2 hours | Very high | Every 6 to 8 weeks | Excellent |
| Clip-ins | 10 to 20 minutes | Moderate | Daily removal | Good |
| Weft (sewn-in) | 2 to 4 hours | Moderate | Every 6 to 8 weeks | Very good |
| Micro-links | 2 to 4 hours | High | Every 8 to 12 weeks | Excellent |
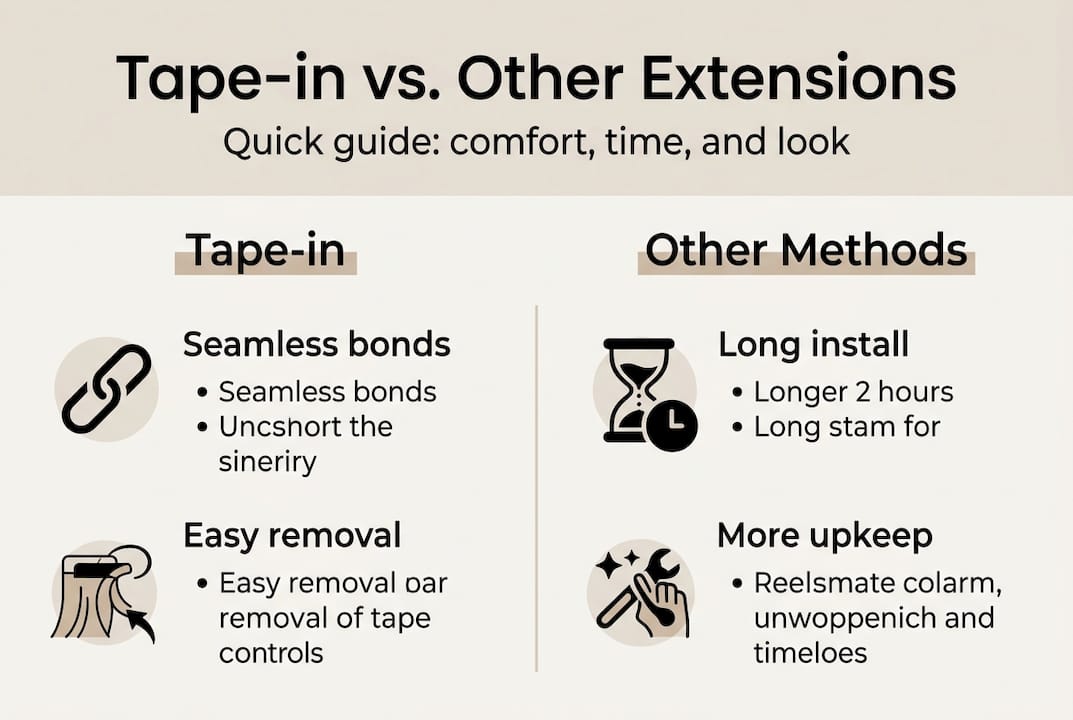
Tape-ins consistently score high on comfort and blendability. Quick to install, less damaging, and versatile for various hair types, they suit a wider range of clients than most other methods.
Other methods have real trade-offs worth knowing:
- Clip-ins are convenient but require daily removal, which can be time-consuming and may cause friction over time.
- Sewn-in wefts offer durability but can feel heavy and may put tension on the scalp if not installed carefully.
- Micro-links are excellent for long-term wear but require specialised tools and a more involved installation process.
For a deeper look at how bundles and clip-ins differ in everyday use, the bundles vs. clip-ins comparison is worth reading. If clip-ins interest you as a secondary option, the clip-in extensions guide covers blending techniques in detail.
Pro Tip: For fine hair specifically, thin sectioning during tape-in installation prevents tension and keeps the bonds flat. Always request that your stylist use sections no thicker than the tape weft itself.
Choosing quality: Hair types, cost, and what to expect
Not all tape-in extensions are created equal. The hair quality you choose directly affects how natural they look, how long they last, and whether they’re worth the investment.

| Hair type | Natural look | Durability | Reusability | Best for |
|---|---|---|---|---|
| 100% Remy human hair | Excellent | High | Yes, multiple times | All hair types |
| Non-Remy human hair | Good | Moderate | Limited | Budget-conscious buyers |
| Synthetic hair | Fair | Low | No | Short-term use only |
Professional-grade Remy human hair offers the most natural movement because the cuticles all run in the same direction, reducing tangling and frizz. Synthetic hair may look fine at first but degrades quickly and cannot be heat-styled safely.
Here’s how to select quality tape-in extensions step by step:
- Identify your hair type: Fine, medium, or thick hair each requires different weft weights.
- Choose a reputable vendor: Look for suppliers who source 100% raw or virgin human hair.
- Book a consultation: A professional stylist can match your colour and texture before purchase.
- Plan your installation: Confirm the number of wefts needed based on your desired volume and length.
Cost is a real consideration. Hair ranges from $200 to $1,000 or more, with professional installation adding $150 to $500 depending on your location and stylist. That may sound steep, but high-quality Remy hair can be reused several times, making the cost-per-wear much more reasonable over time. Understanding why natural hair extensions outperform synthetic alternatives helps put that investment in perspective.
Application, aftercare, and removal: What you need to know
Getting tape-ins installed correctly is only half the equation. How you care for them afterwards determines how long they last and how healthy your natural hair stays underneath.
Installation process:
- Start with clean, completely dry hair. No oils or conditioner near the roots.
- The stylist sections the hair into thin, horizontal rows.
- One tape weft is placed below the section, the natural hair is laid over it, and a second weft is pressed firmly on top.
- The bond is sealed with a flat iron on a low setting to activate the adhesive.
Aftercare essentials:
No washing for 48 to 72 hours after installation gives the adhesive time to bond fully. After that, use a sulphate-free shampoo and avoid applying conditioner directly to the tape bonds. Gentle brushing from the ends upward prevents unnecessary pulling.
Proper thin sectioning and spacing during installation is just as important as aftercare. Poor placement causes slippage and discomfort over time.
“Proper maintenance means healthy, reusable tape-ins. Clients who follow aftercare instructions consistently get two to three full installs from the same set of hair.”
For a full breakdown of ongoing care, the tape-in extensions care guide is an excellent resource. You can also explore blending tape-in extensions for tips on keeping them undetectable between appointments.
Pro Tip: Schedule touch-ups every 6 to 8 weeks. Waiting too long allows the bonds to slide down the hair shaft, which creates visible gaps and puts stress on your roots.
Styling and versatility: Achieving your best look
One of the most underrated qualities of tape-in extensions is how much styling freedom they give you. Because the bonds sit flat and close to the scalp, you can wear your hair in almost any style without the extensions showing.
Tape-ins allow versatile styling, seamless blending, and suit all hair types, which is why they’ve become a go-to for both everyday wear and special events.
Here’s what you can do with tape-in extensions in place:
- Up-dos and buns: The flat bonds stay hidden even in high ponytails and sleek buns.
- Braids: Box braids, French braids, and fishtails all work beautifully with tape-ins.
- Waves and curls: Human hair tape-ins can be curled and waved just like your natural hair.
- Colour blending: Extensions can be matched to your highlights or balayage for a seamless gradient.
- Parting changes: Because wefts are placed in rows, you can shift your parting without exposing bonds.
For special events, tape-ins give you the volume and length for elaborate styles without the commitment of a permanent method. A skilled stylist can cut and layer the extensions to match your natural hair perfectly, making the blend truly undetectable. Explore achieving a seamless look and natural blending techniques for practical styling advice.
Pro Tip: Ask your stylist to custom-cut your tape-ins after installation. A few minutes of layering and blending makes an enormous difference in how natural the extensions look.
The hidden truth: Why tape-ins are changing the hair game
For years, tape-in extensions were considered a niche option. Something for brides, or for clients who couldn’t tolerate heavier methods. That perception has shifted dramatically, and we think it’s worth being direct about why.
Tape-ins have moved from trend to salon staple because they solve a problem that other methods don’t: they work for people who were previously told extensions weren’t suitable for them. Fine hair, sensitive scalps, and low-maintenance lifestyles all find a home with tape-ins in a way that sewn-ins or micro-links simply don’t offer.
What most guides won’t tell you is that the real value isn’t just in the method itself. It’s in the combination of professional technique and quality hair. A DIY tape-in kit from a discount supplier will never perform the way a professionally installed set of raw Indian Remy hair does. The extension innovations available today mean the gap between a great result and a poor one comes down almost entirely to those two factors.
Reusability also changes the economics. Clients who invest in quality hair and see a skilled stylist regularly often find tape-ins more cost-effective long-term than cheaper alternatives that need replacing every few months. That’s a perspective worth holding onto.
Explore premium hair extension options
If this guide has you ready to take the next step, the quality of the hair you choose will make or break your results. At Gaurash Hair, we source 100% raw and virgin Indian human hair, offering the natural movement, softness, and durability that tape-in extensions demand.
Browse our premium wigs collection for full coverage options, or explore our HD lace hair closure for a flawless, natural hairline finish. Ready to find your perfect match? Shop tape-in extensions and discover why beauty professionals and clients across Canada trust Gaurash Hair for premium, natural hair solutions.
Frequently asked questions
How long do tape-in extensions typically last?
With proper care, tape-ins last 6 to 8 weeks before needing maintenance or reapplication. The hair itself can often be reused across multiple installs.
Can tape-in extensions damage my hair?
Tape-ins are among the least damaging methods available when applied and removed by a professional. Improper DIY removal is the most common cause of damage.
Are tape-in extensions reusable?
Yes. High-quality tape-ins are reusable with proper care and professional removal. The adhesive tabs are replaced at each reinstall, while the hair weft itself remains intact.
What kind of hair is best for tape-in extensions?
100% Remy human hair offers the most natural movement and durability. It blends seamlessly with natural hair and withstands heat styling far better than synthetic alternatives.
How are tape-in extensions removed?
A stylist applies a tape remover solution to gently break down the adhesive, then slides the wefts out carefully. Professional removal is strongly recommended to protect your natural hair.
Recommended
- Tape-in extensions: 6–8 weeks to effortless style – Gaurash Beauty Supply
- 7 Types of Hair Extensions for a Natural Look Explained – Gaurash Beauty Supply
- Best Fusions Tapes | Fusions Tapes | Gaurash Beauty Supply
- Clip-in extensions guide for natural blending in 2026 – Gaurash Beauty Supply
- How to Apply Biotin Treatments for Fuller, Healthier Hair – LUXEVA